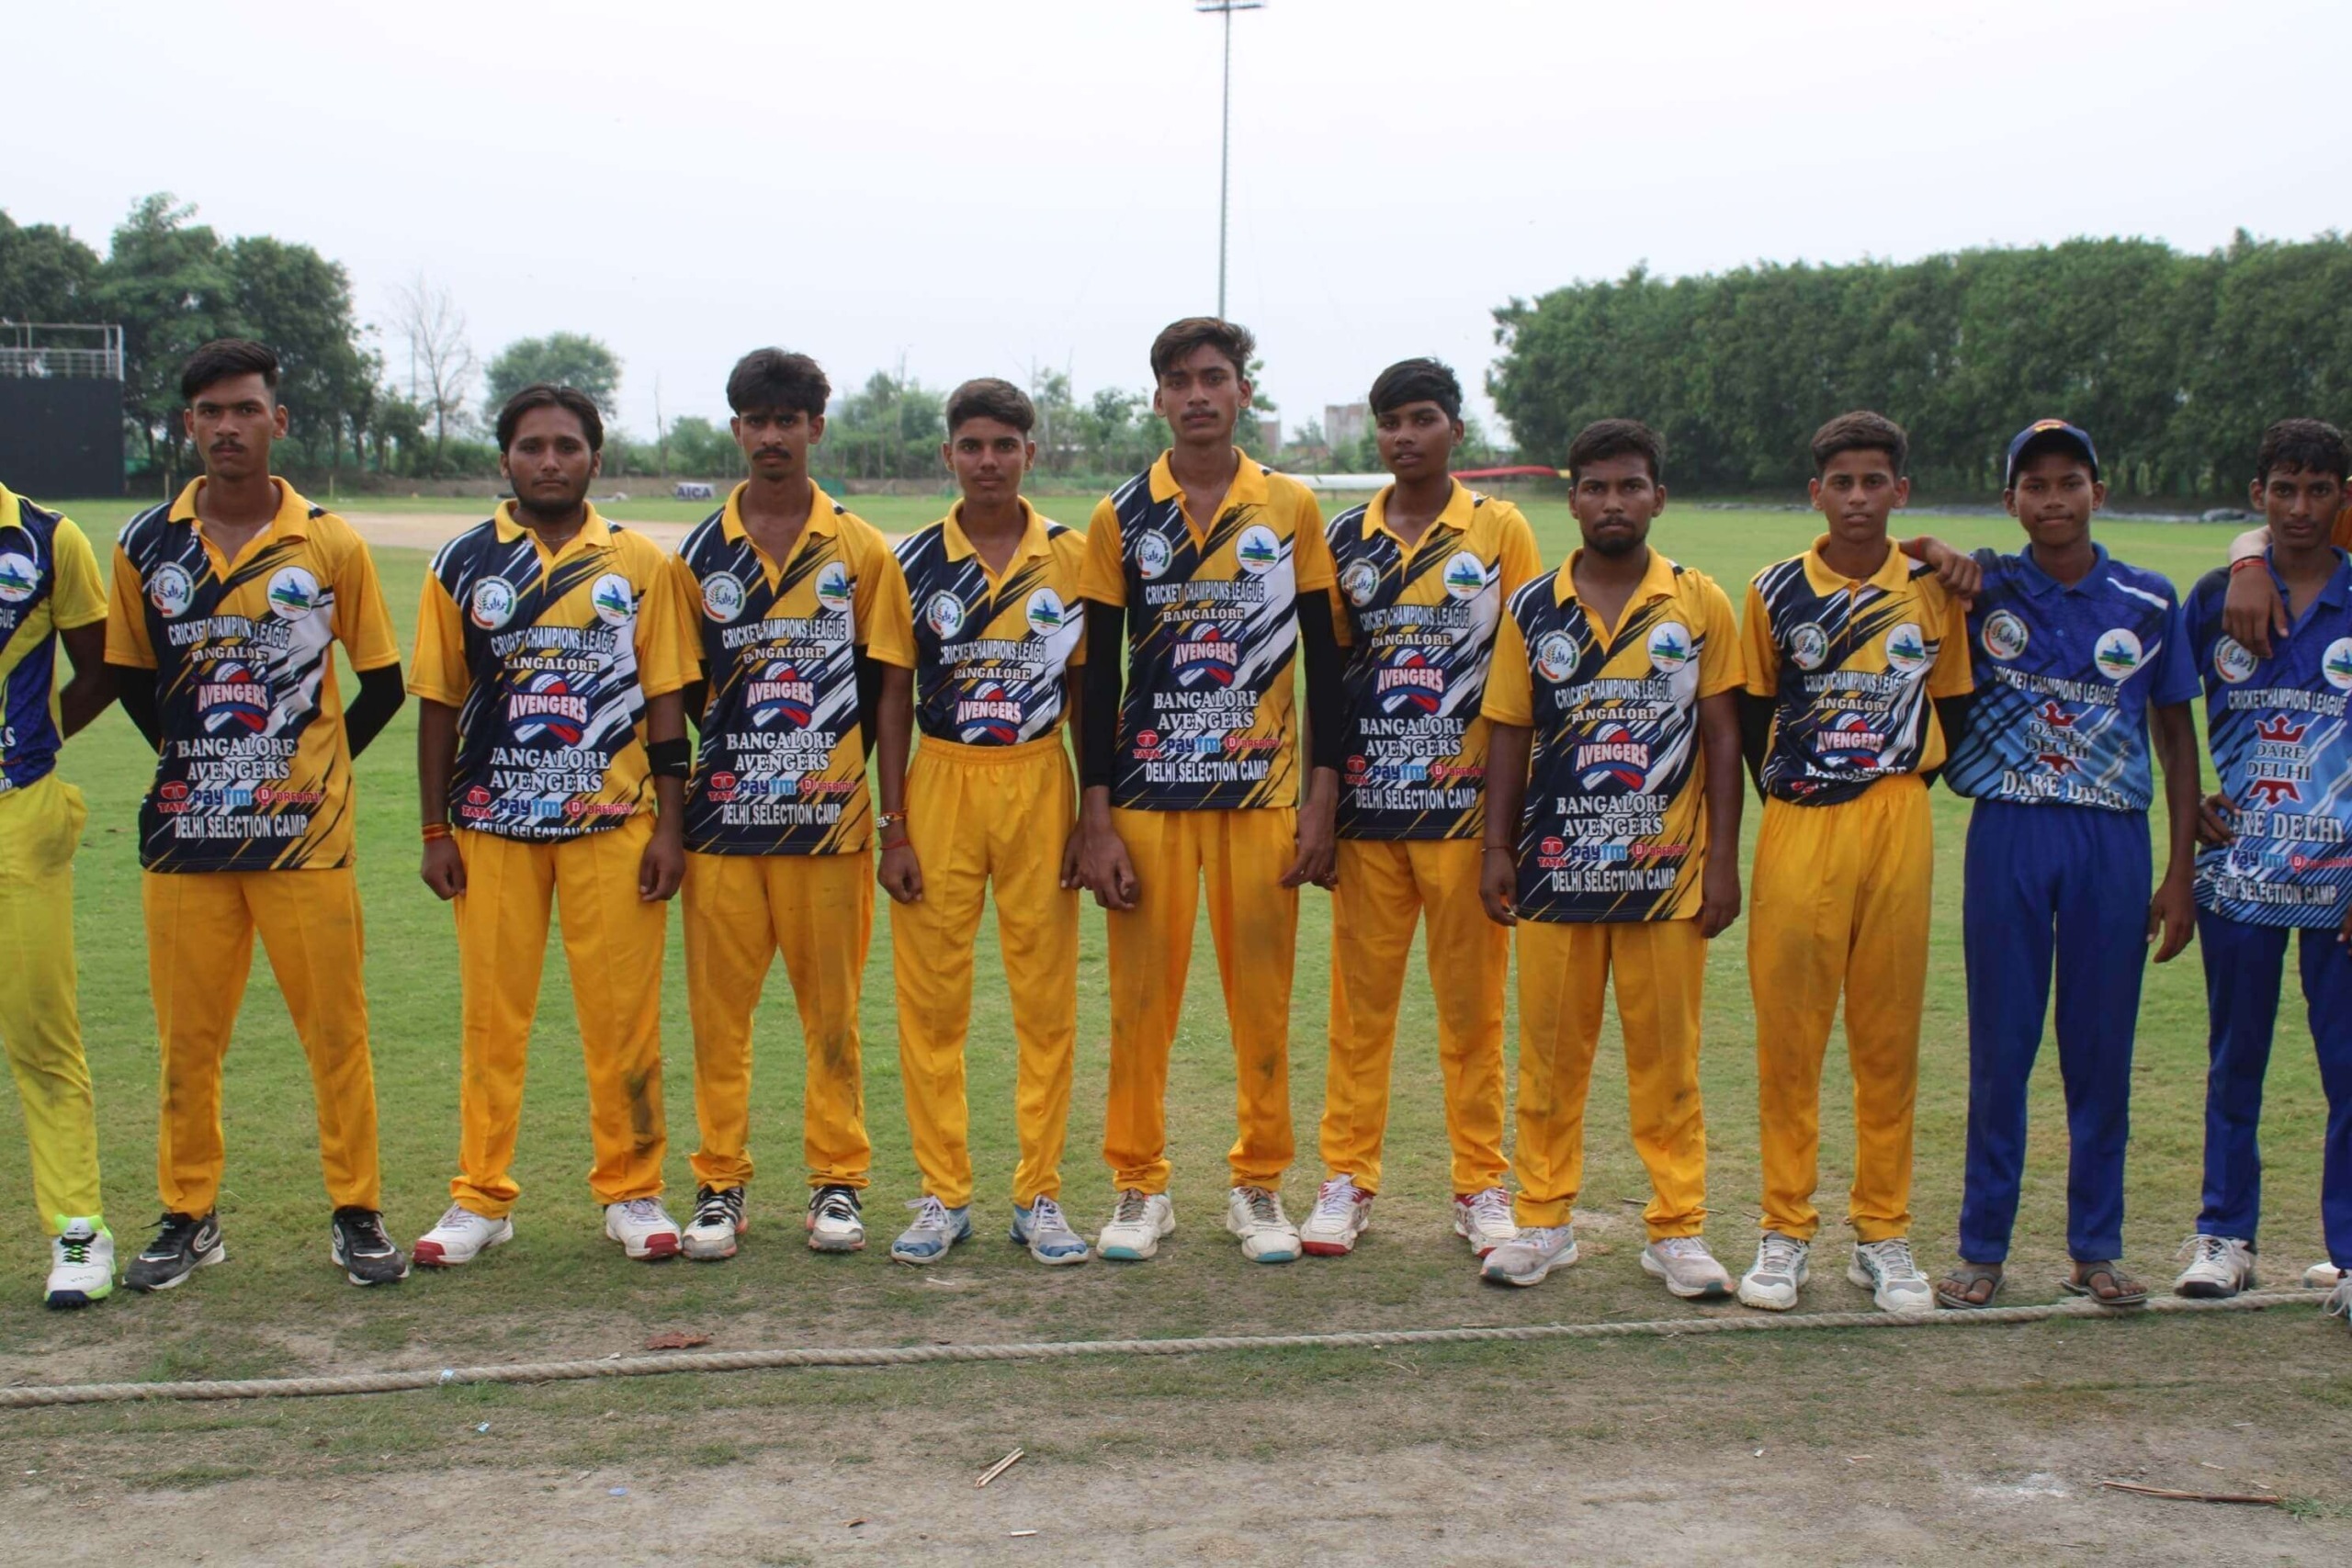
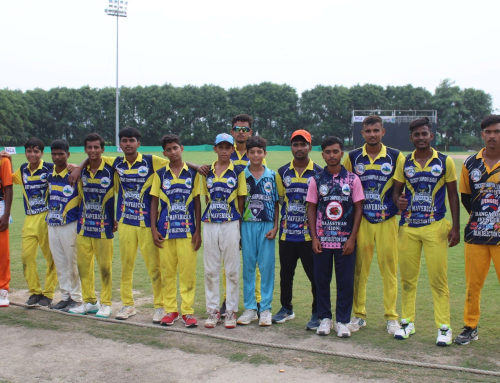
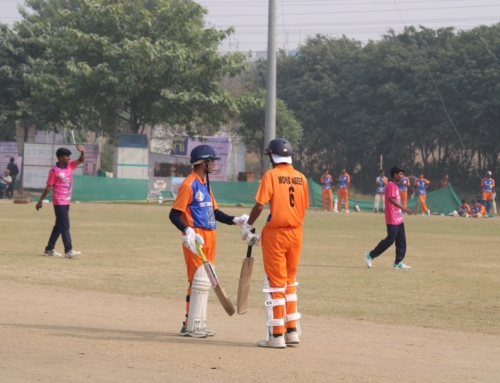
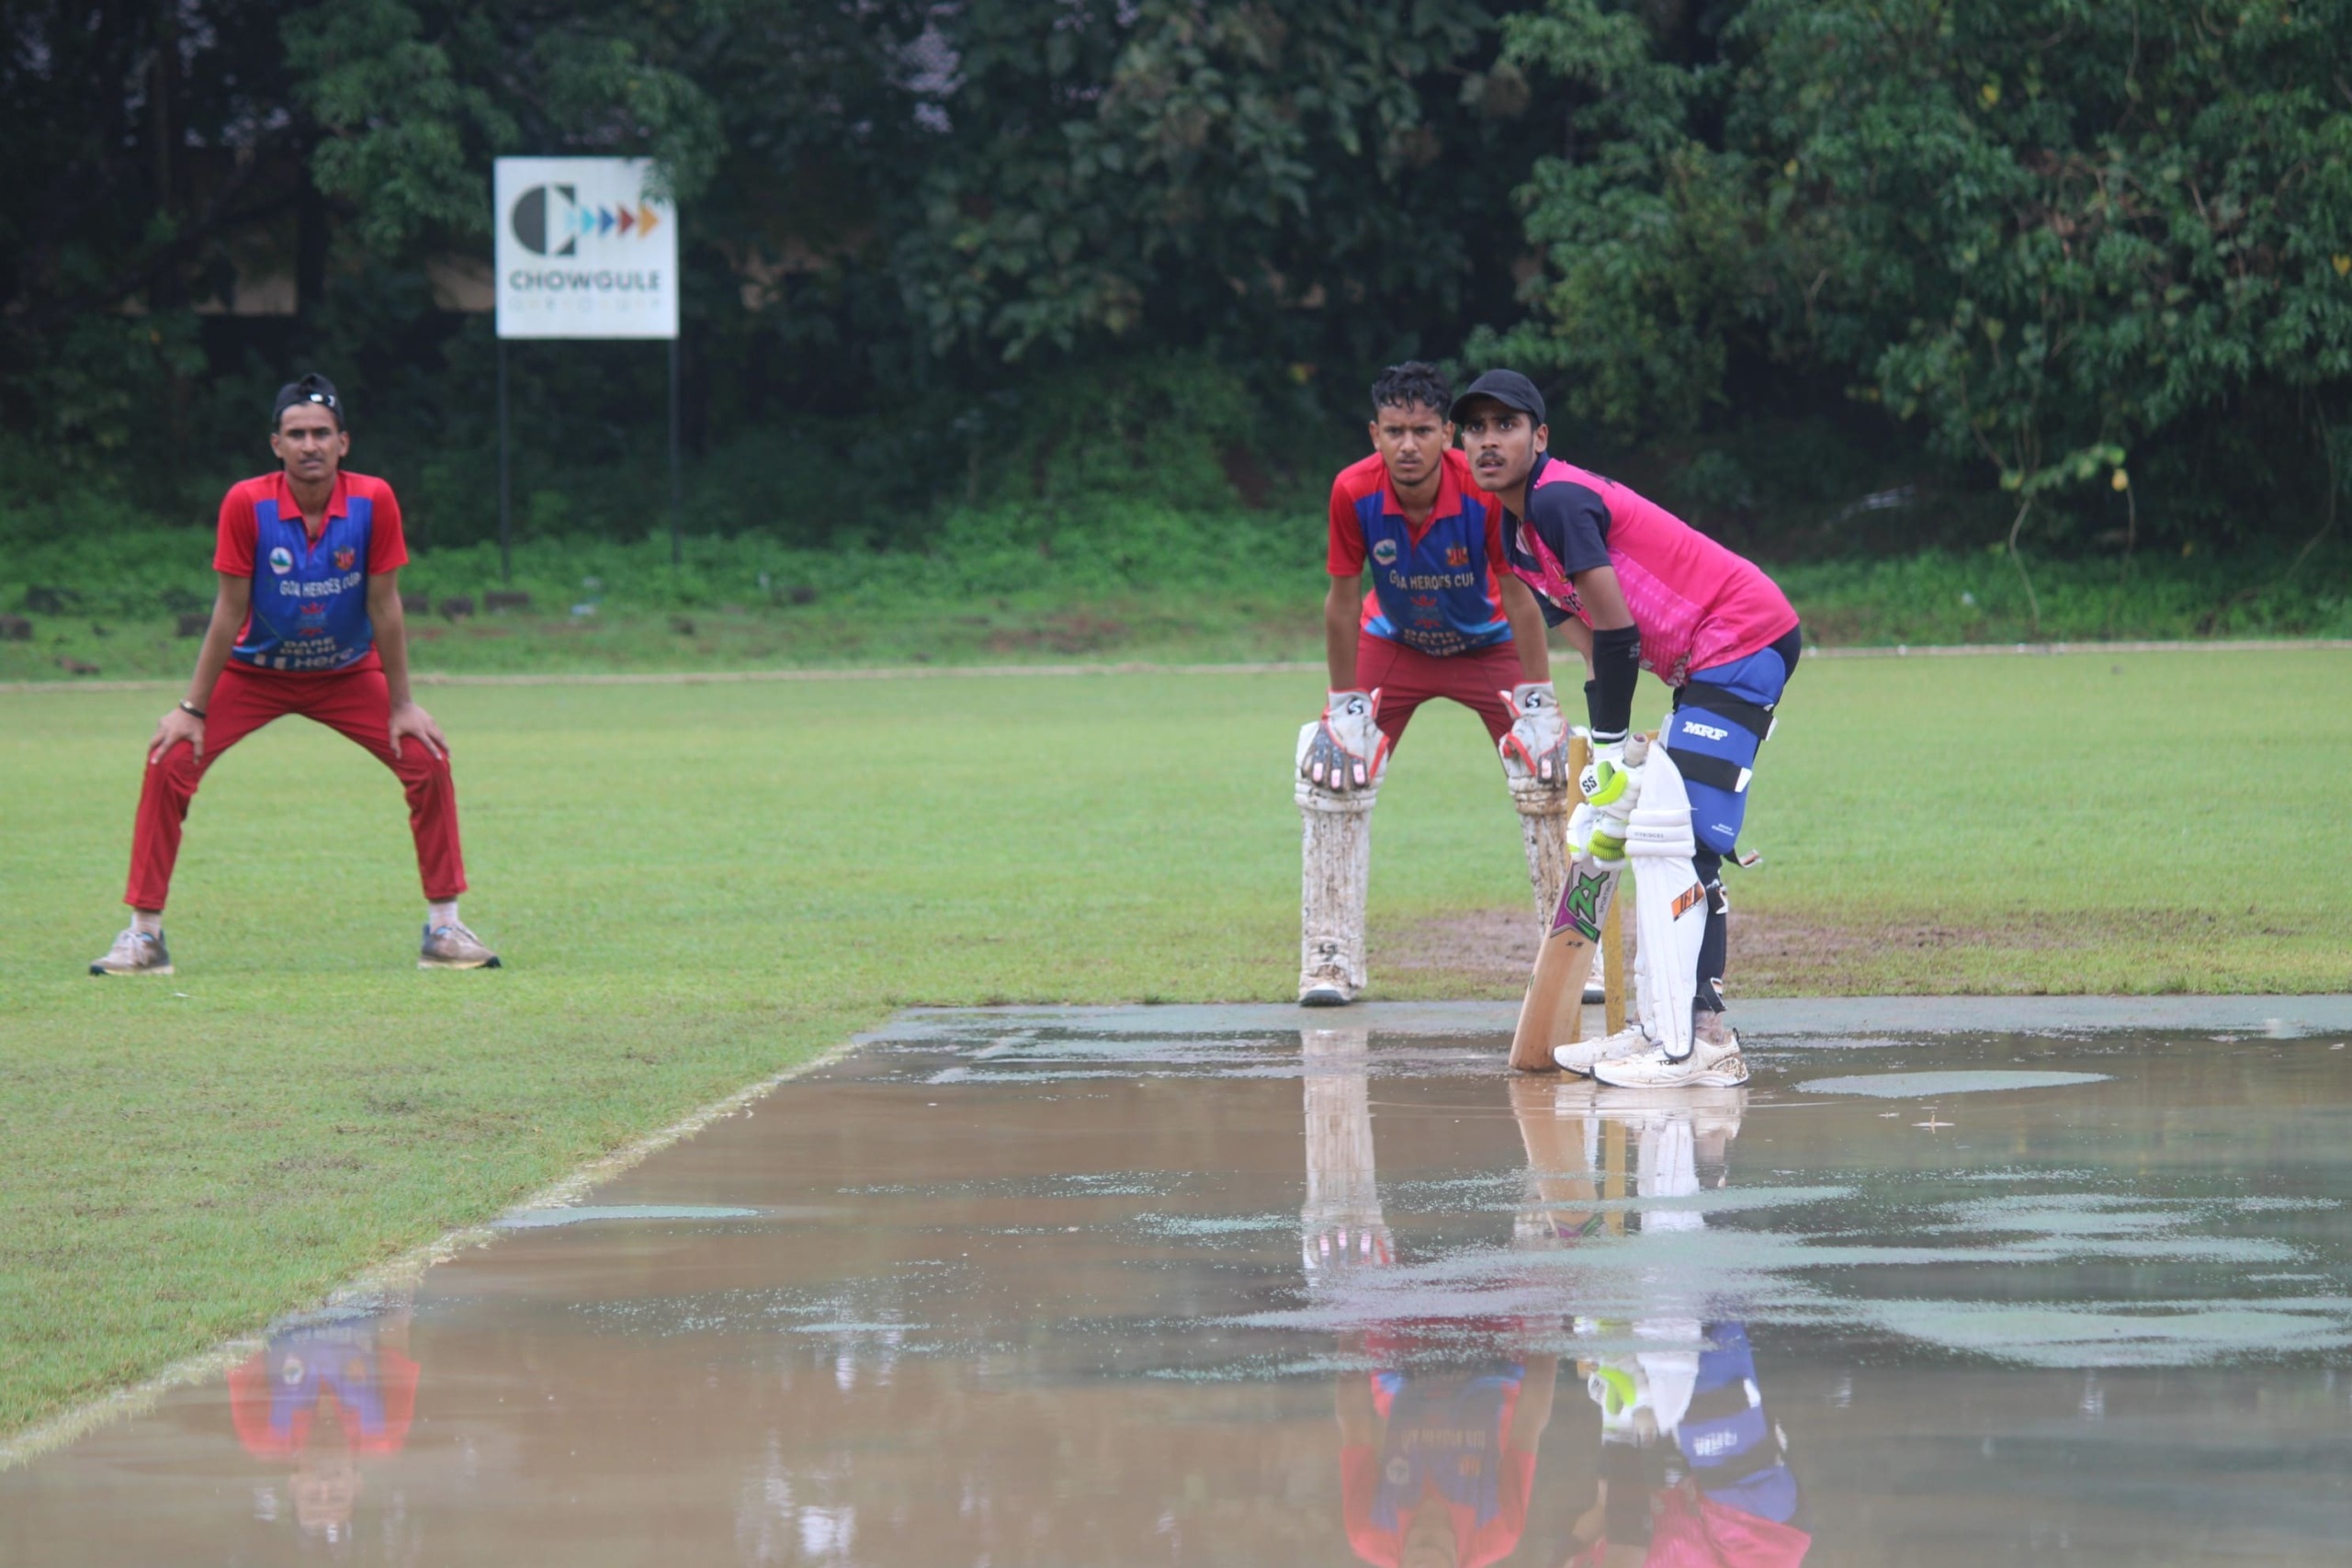
If you are aspiring to play professional T20 cricket, the NPL Cricket Trials Registration is your first step. The National Premier League (NPL) provides a platform for talented cricketers from all over India to showcase their skills and potentially earn a spot in one of the league’s teams.
With the process being fully online, it has never been easier to apply and secure your place in the trials. This guide will walk you through step-by-step online registration so you can focus on your cricket skills instead of paperwork.
Why Online Registration is the Best Option
The NPL Cricket Trials Registration process is completely online, making it convenient for players nationwide. Some major advantages include:
-
Faster Confirmation: Receive instant acknowledgment of your registration.
-
Secure Payment: Payments are processed safely through verified online gateways.
-
Easy Access to Updates: Receive trial location, date, and notifications directly via email or WhatsApp.
Online registration saves time, eliminates the hassle of visiting multiple offices, and ensures you don’t miss important announcements.
Image Suggestion: Screenshot of online cricket registration form
Step 1 – Visit the Official Registration Page
The first step is simple:
-
Go to the official T20NPL registration portal.
-
Click on the “Apply Now” button.
This takes you to the online form where you will submit your personal details and cricket experience. Make sure you are on the official website to avoid any fraudulent pages.
Step 2 – Fill in Your Details
Accuracy is key when filling out the registration form. Provide the following information carefully:
-
Full Name
-
Age & Date of Birth
-
City & State
-
Contact Number and Email Address
-
Cricket Experience (if any)
Pro Tip: Double-check your contact information to ensure you receive trial confirmation without delays. A small mistake in your email or phone number could cause missed notifications.
Step 3 – Upload Required Documents
After filling your details, you need to upload important documents. These include:
-
Passport-sized photograph
-
Previous cricket certificates or achievements (if any)
-
Payment receipt (if applicable)
Ensure the documents are clear, readable, and in the format accepted by the portal. Uploading correct documents avoids last-minute registration issues.
Step 4 – Pay the Trial Fee
Once your details and documents are submitted, it’s time to pay the trial fee. The payment process is completely secure and supports multiple methods:
-
UPI / Paytm / Google Pay
-
Debit/Credit Cards
-
Net Banking
Make sure to keep a copy of the payment confirmation. This is crucial in case of any discrepancies at the trial venue.
Step 5 – Confirmation & Trial Details
After successful registration and payment, you will receive:
-
Email Confirmation: This will include your registration details and receipt.
-
WhatsApp Notification: Get real-time updates with trial location, date, and instructions.
Pro Tip: Keep a screenshot of your confirmation as a backup. Bring it with you to the trial venue for smooth verification.
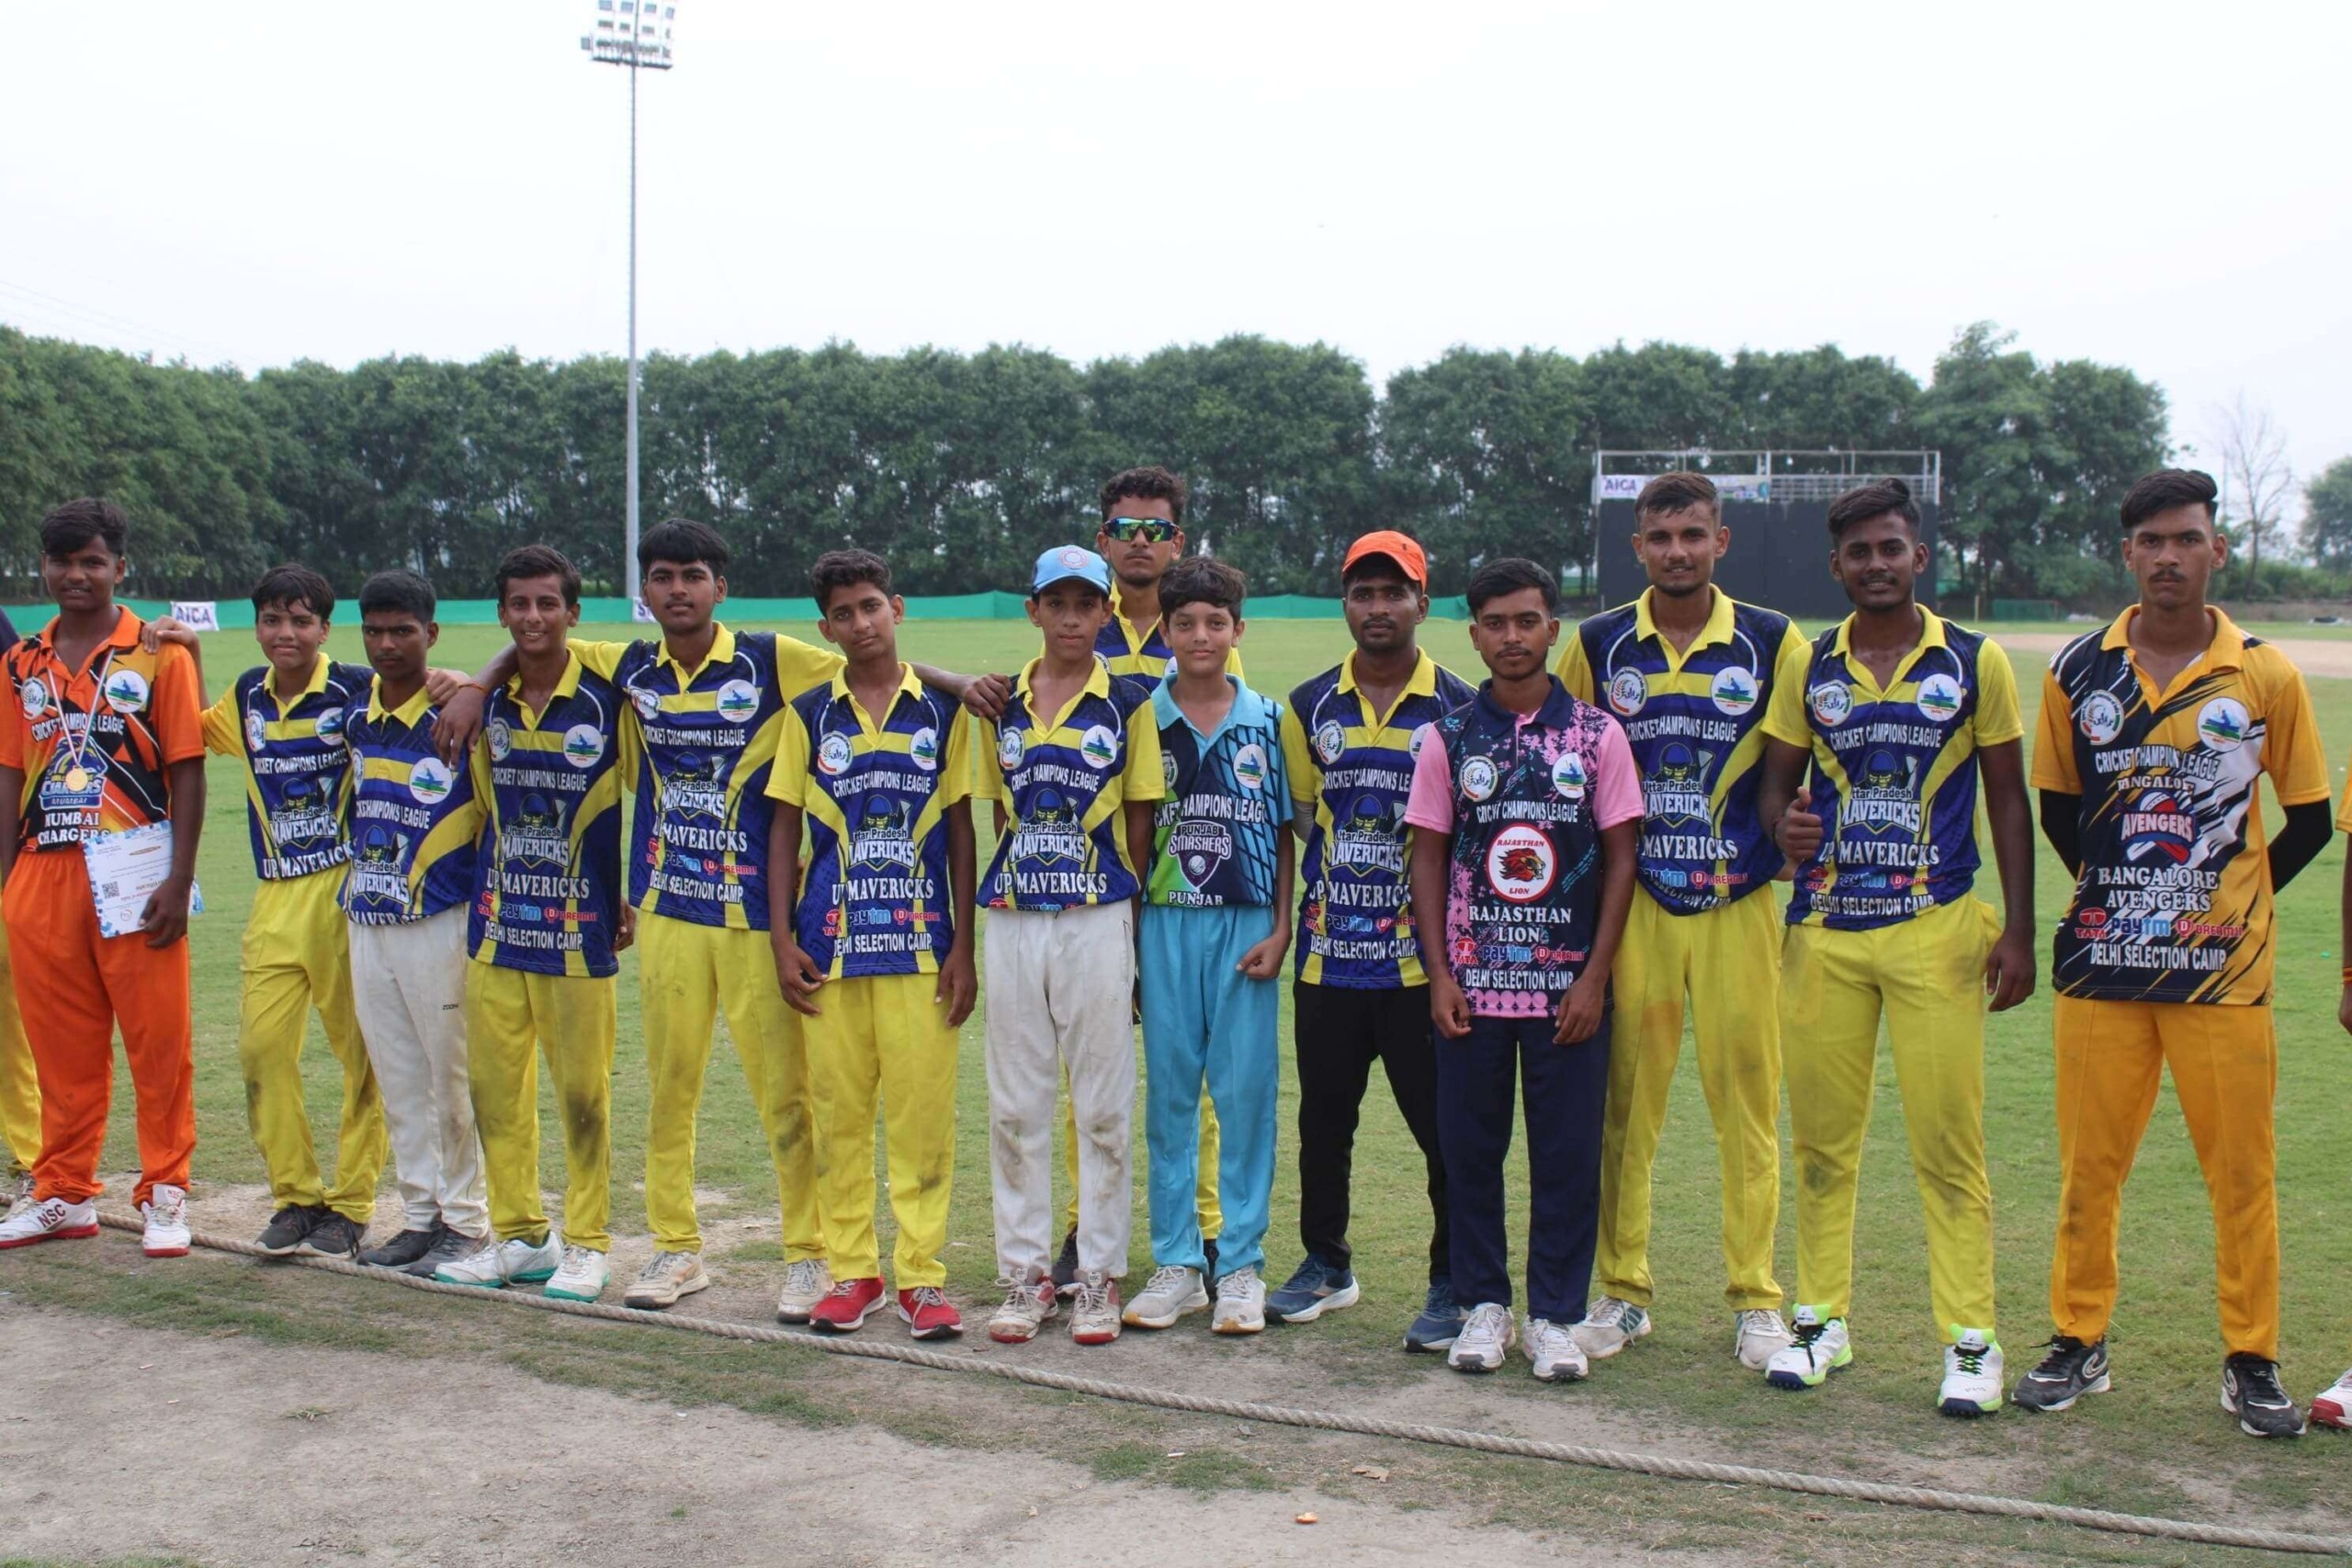
By following these steps, you can complete your NPL Cricket Trials Registration quickly, safely, and without stress.

Leave A Comment